What you need
Accounts
-
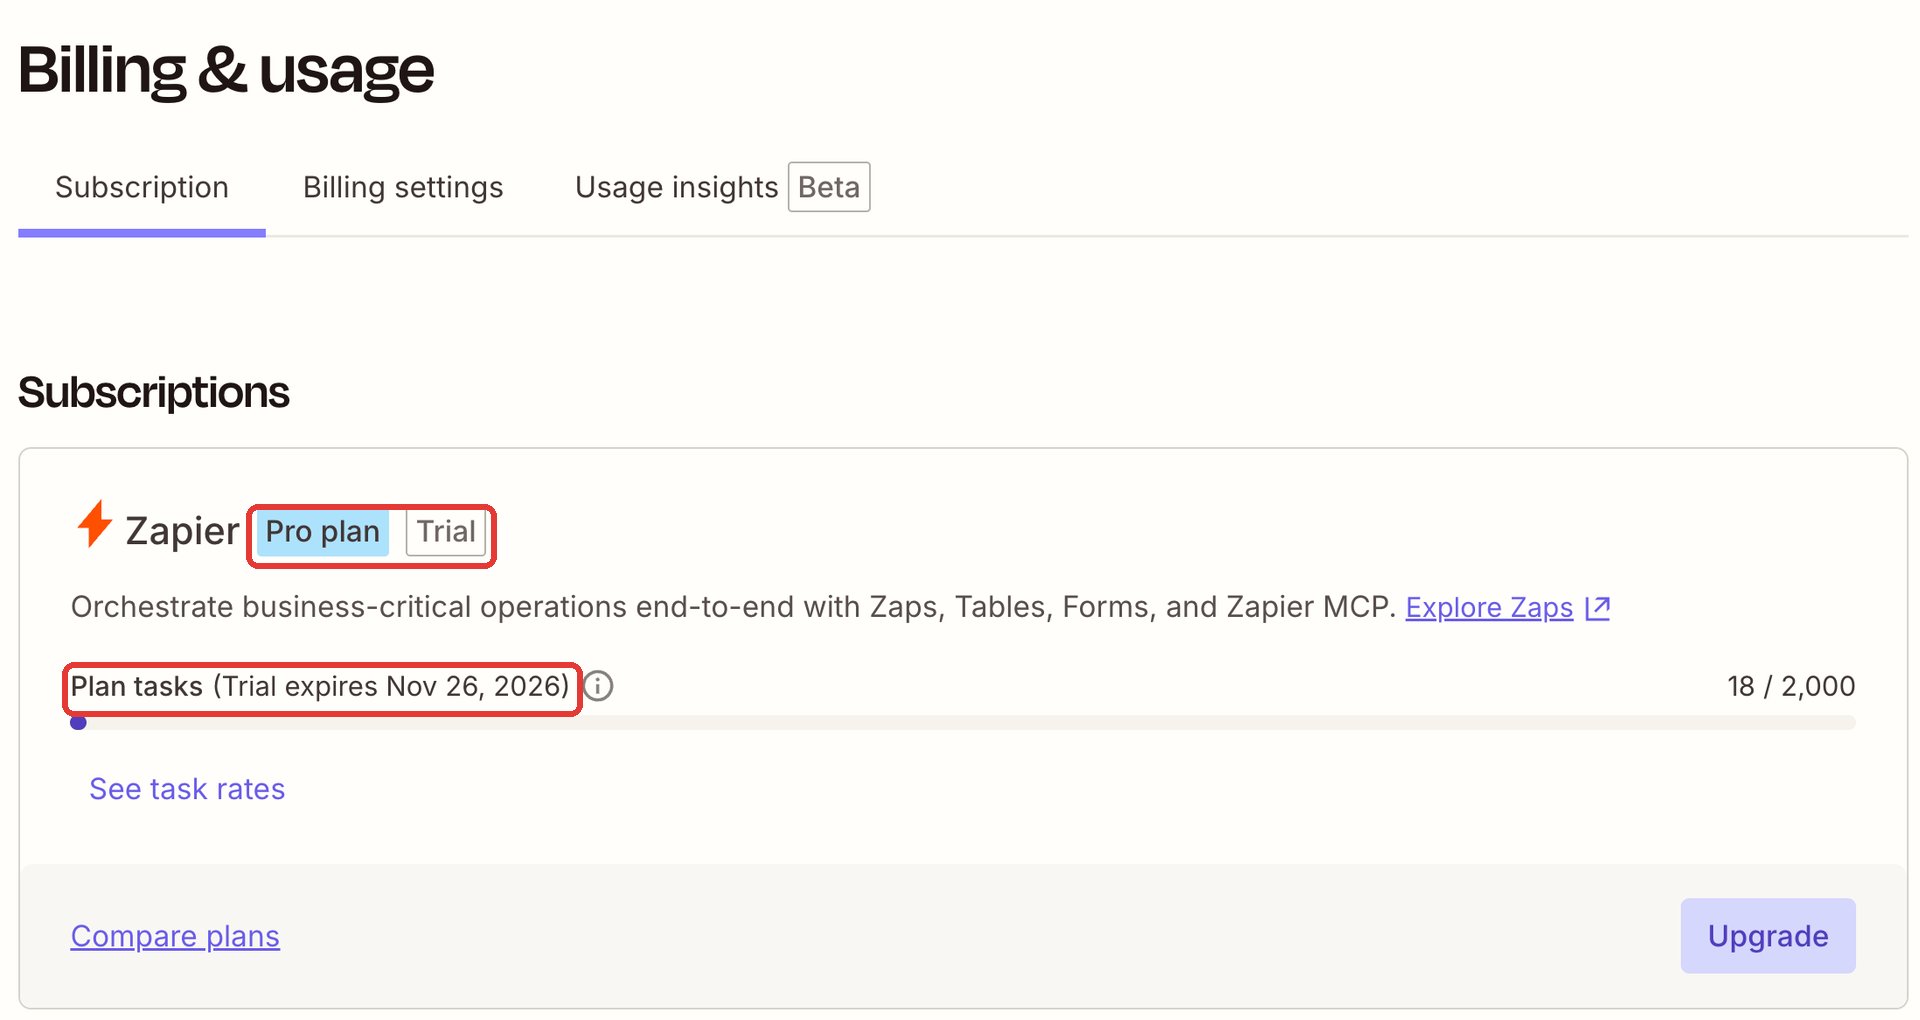
Zapier account. Sign up at zapier.com. You need the Professional
plan for Zaps with more than two steps. A new account starts on the Free plan: go to
Settings → Billing & usage and click Try Pro for 14 days to start the free trial. No
card is needed. When the trial ends, Zaps with more than two steps stop running unless you
upgrade.
- ProofAge account. Sign up at app.proofage.net. New accounts get free trial verifications (Pricing), and test workspaces are always free.
- An email account connected to Zapier, such as Gmail. This guide uses Gmail.
Your marketplace setup
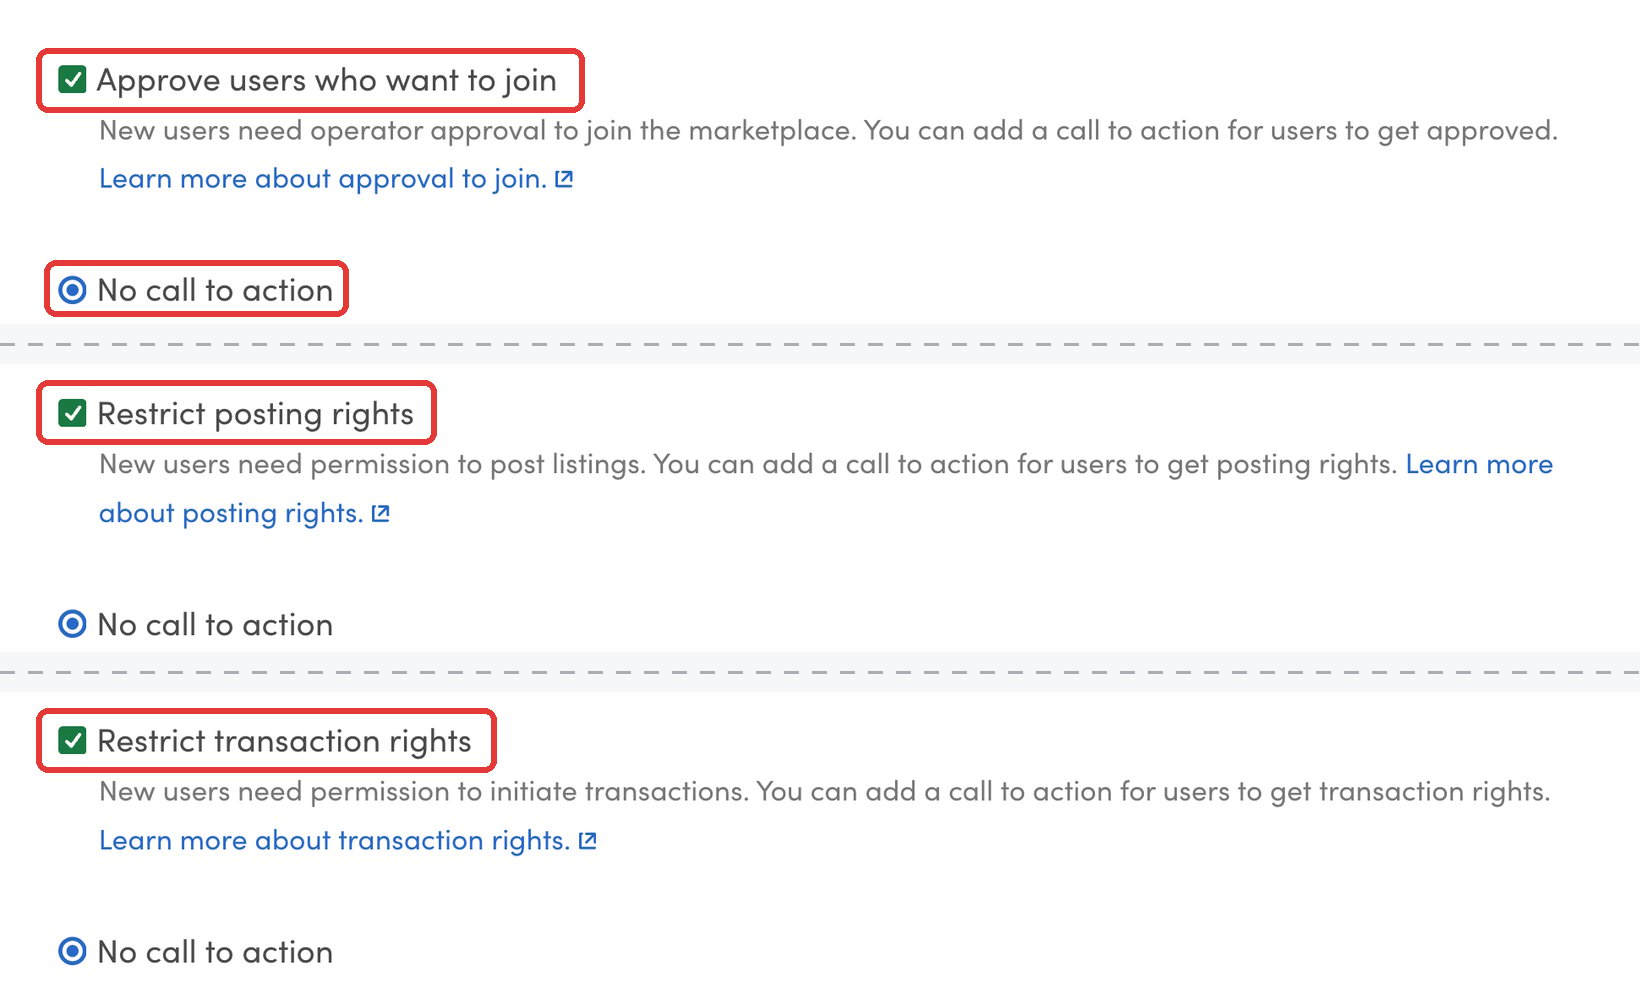
Do these in your marketplace’s Test environment. Access control. Decide what new users can’t do until they are verified. In Console, go to Build → General → Access control. This guide ticks all three of these, so that the next page shows both ways of granting access:- Approve users who want to join: new users can’t do anything until they are approved.
- Restrict posting rights: new users can’t post listings.
- Restrict transaction rights: new users can’t start transactions.
For each page:
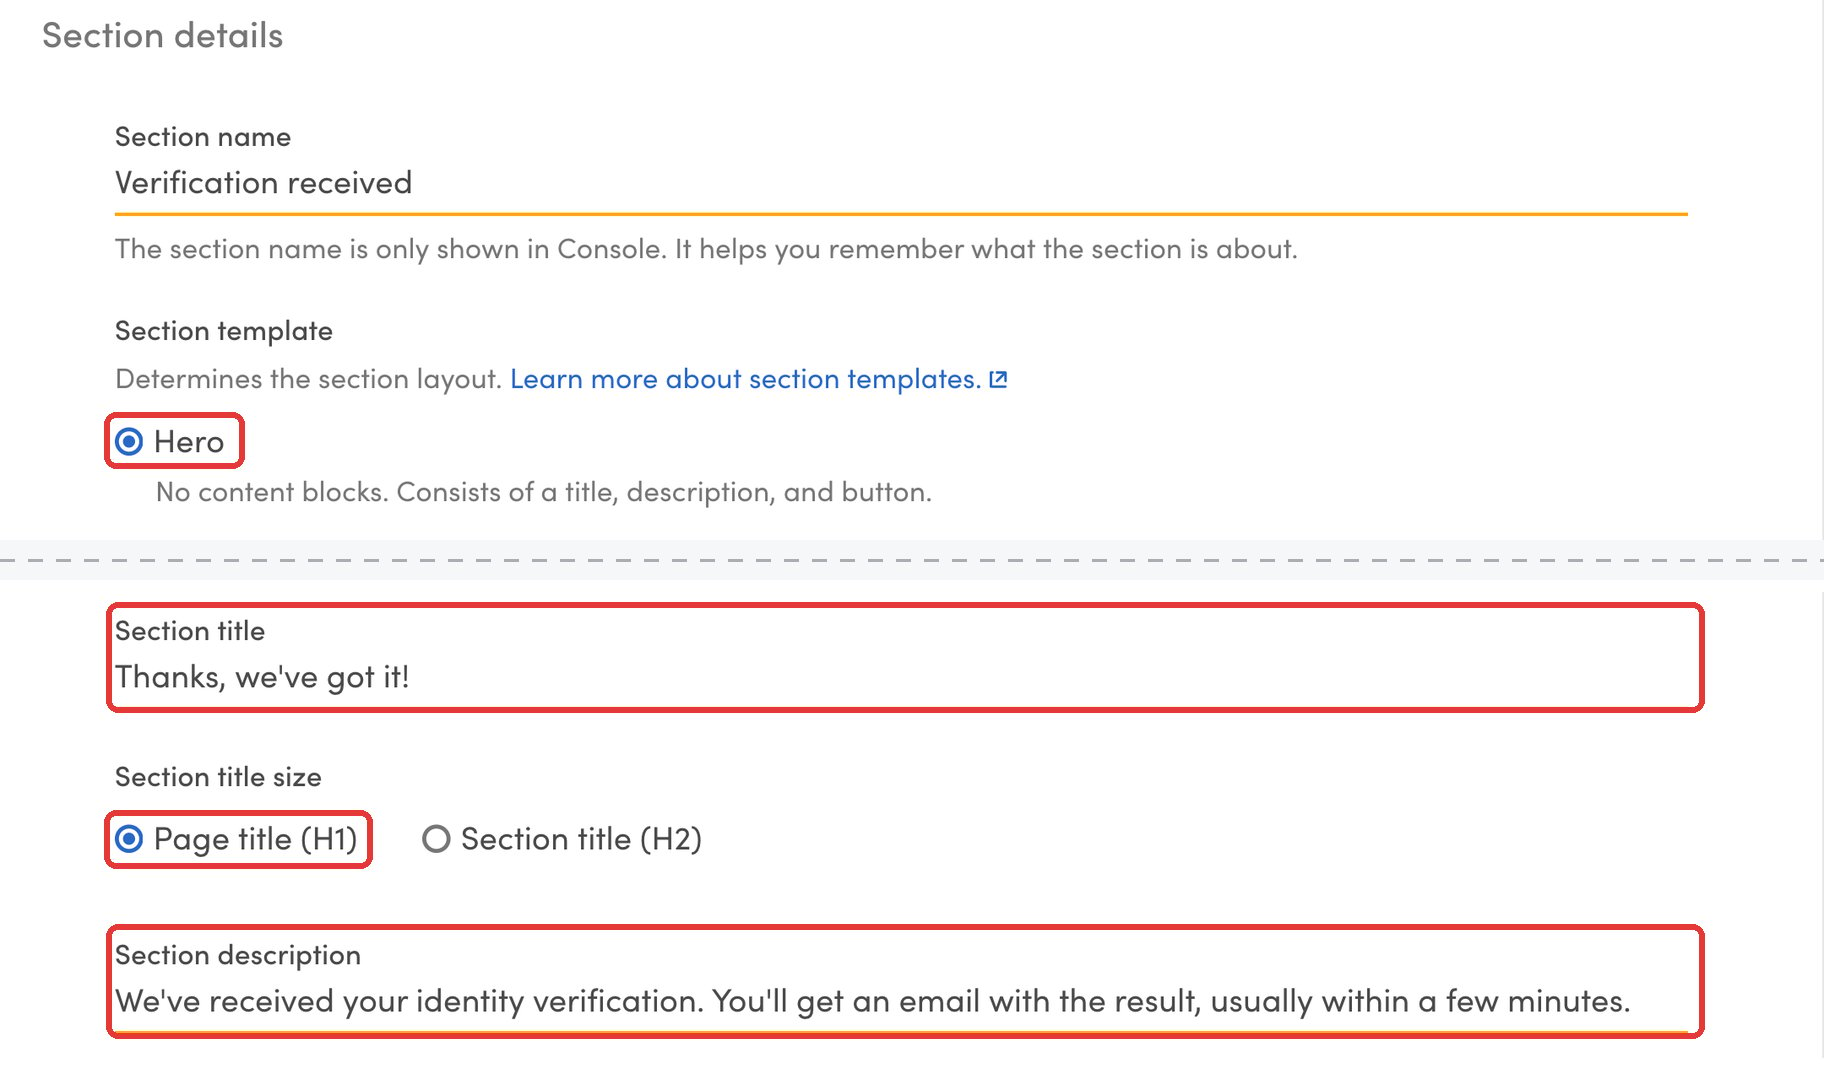
- In Console, go to Build → Content → Pages and click + Create a new page….
- Enter the Page ID from the table and click Create page.
- Click Edit content under the new page, then + Add a new section.
- Enter a Section name. Only you see it.
- Choose the Hero template.
- Enter the Section title from the table and select Page title (H1).
- Enter the Section description.
- Click Save changes.
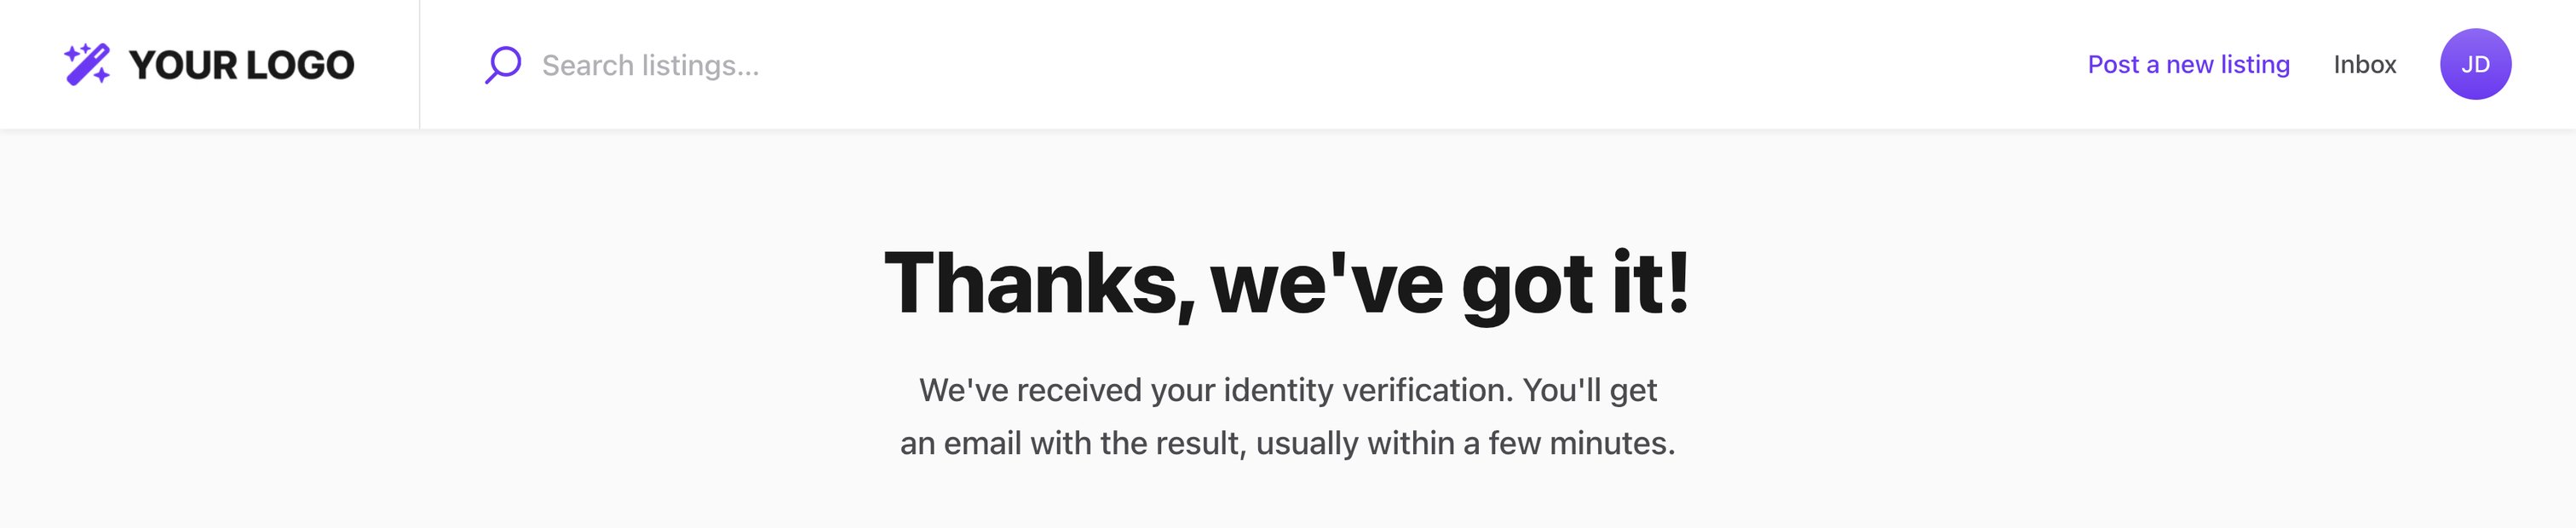
/p/ and the page ID, for example https://your-marketplace.com/p/verification-received.
In the Test environment the address ends in .mysharetribe-test.com.
Copy the addresses of both pages. You’ll need them below.
A test user. Sign up on your Test marketplace as a new user, with an email address whose
inbox you can open. You’ll use this user to test the Zap. If you set up approval to join, don’t
approve this user yourself: the Zap on the next page will do it.
Getting your Integration API keys from Console
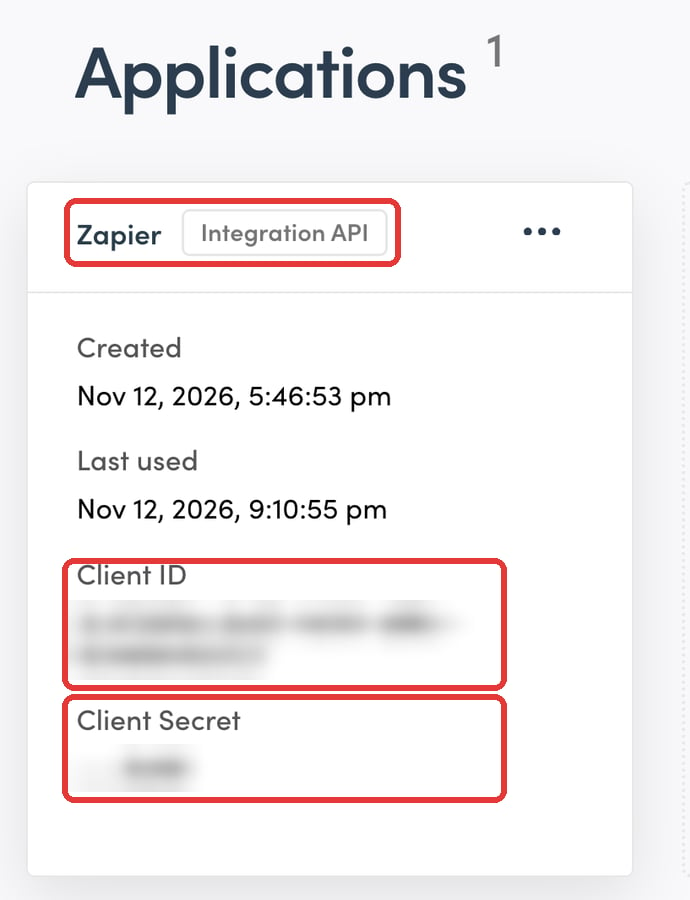
Zapier connects to your marketplace with Integration API keys. In Sharetribe Console, in your Test environment:- Go to Build → Advanced → Applications.
- Click + Add a new application.
- Name it (for example “Zapier”), select Integration API and click Add application.
- Copy the Client ID and Client Secret to a safe place, such as a password manager.
Setting up ProofAge
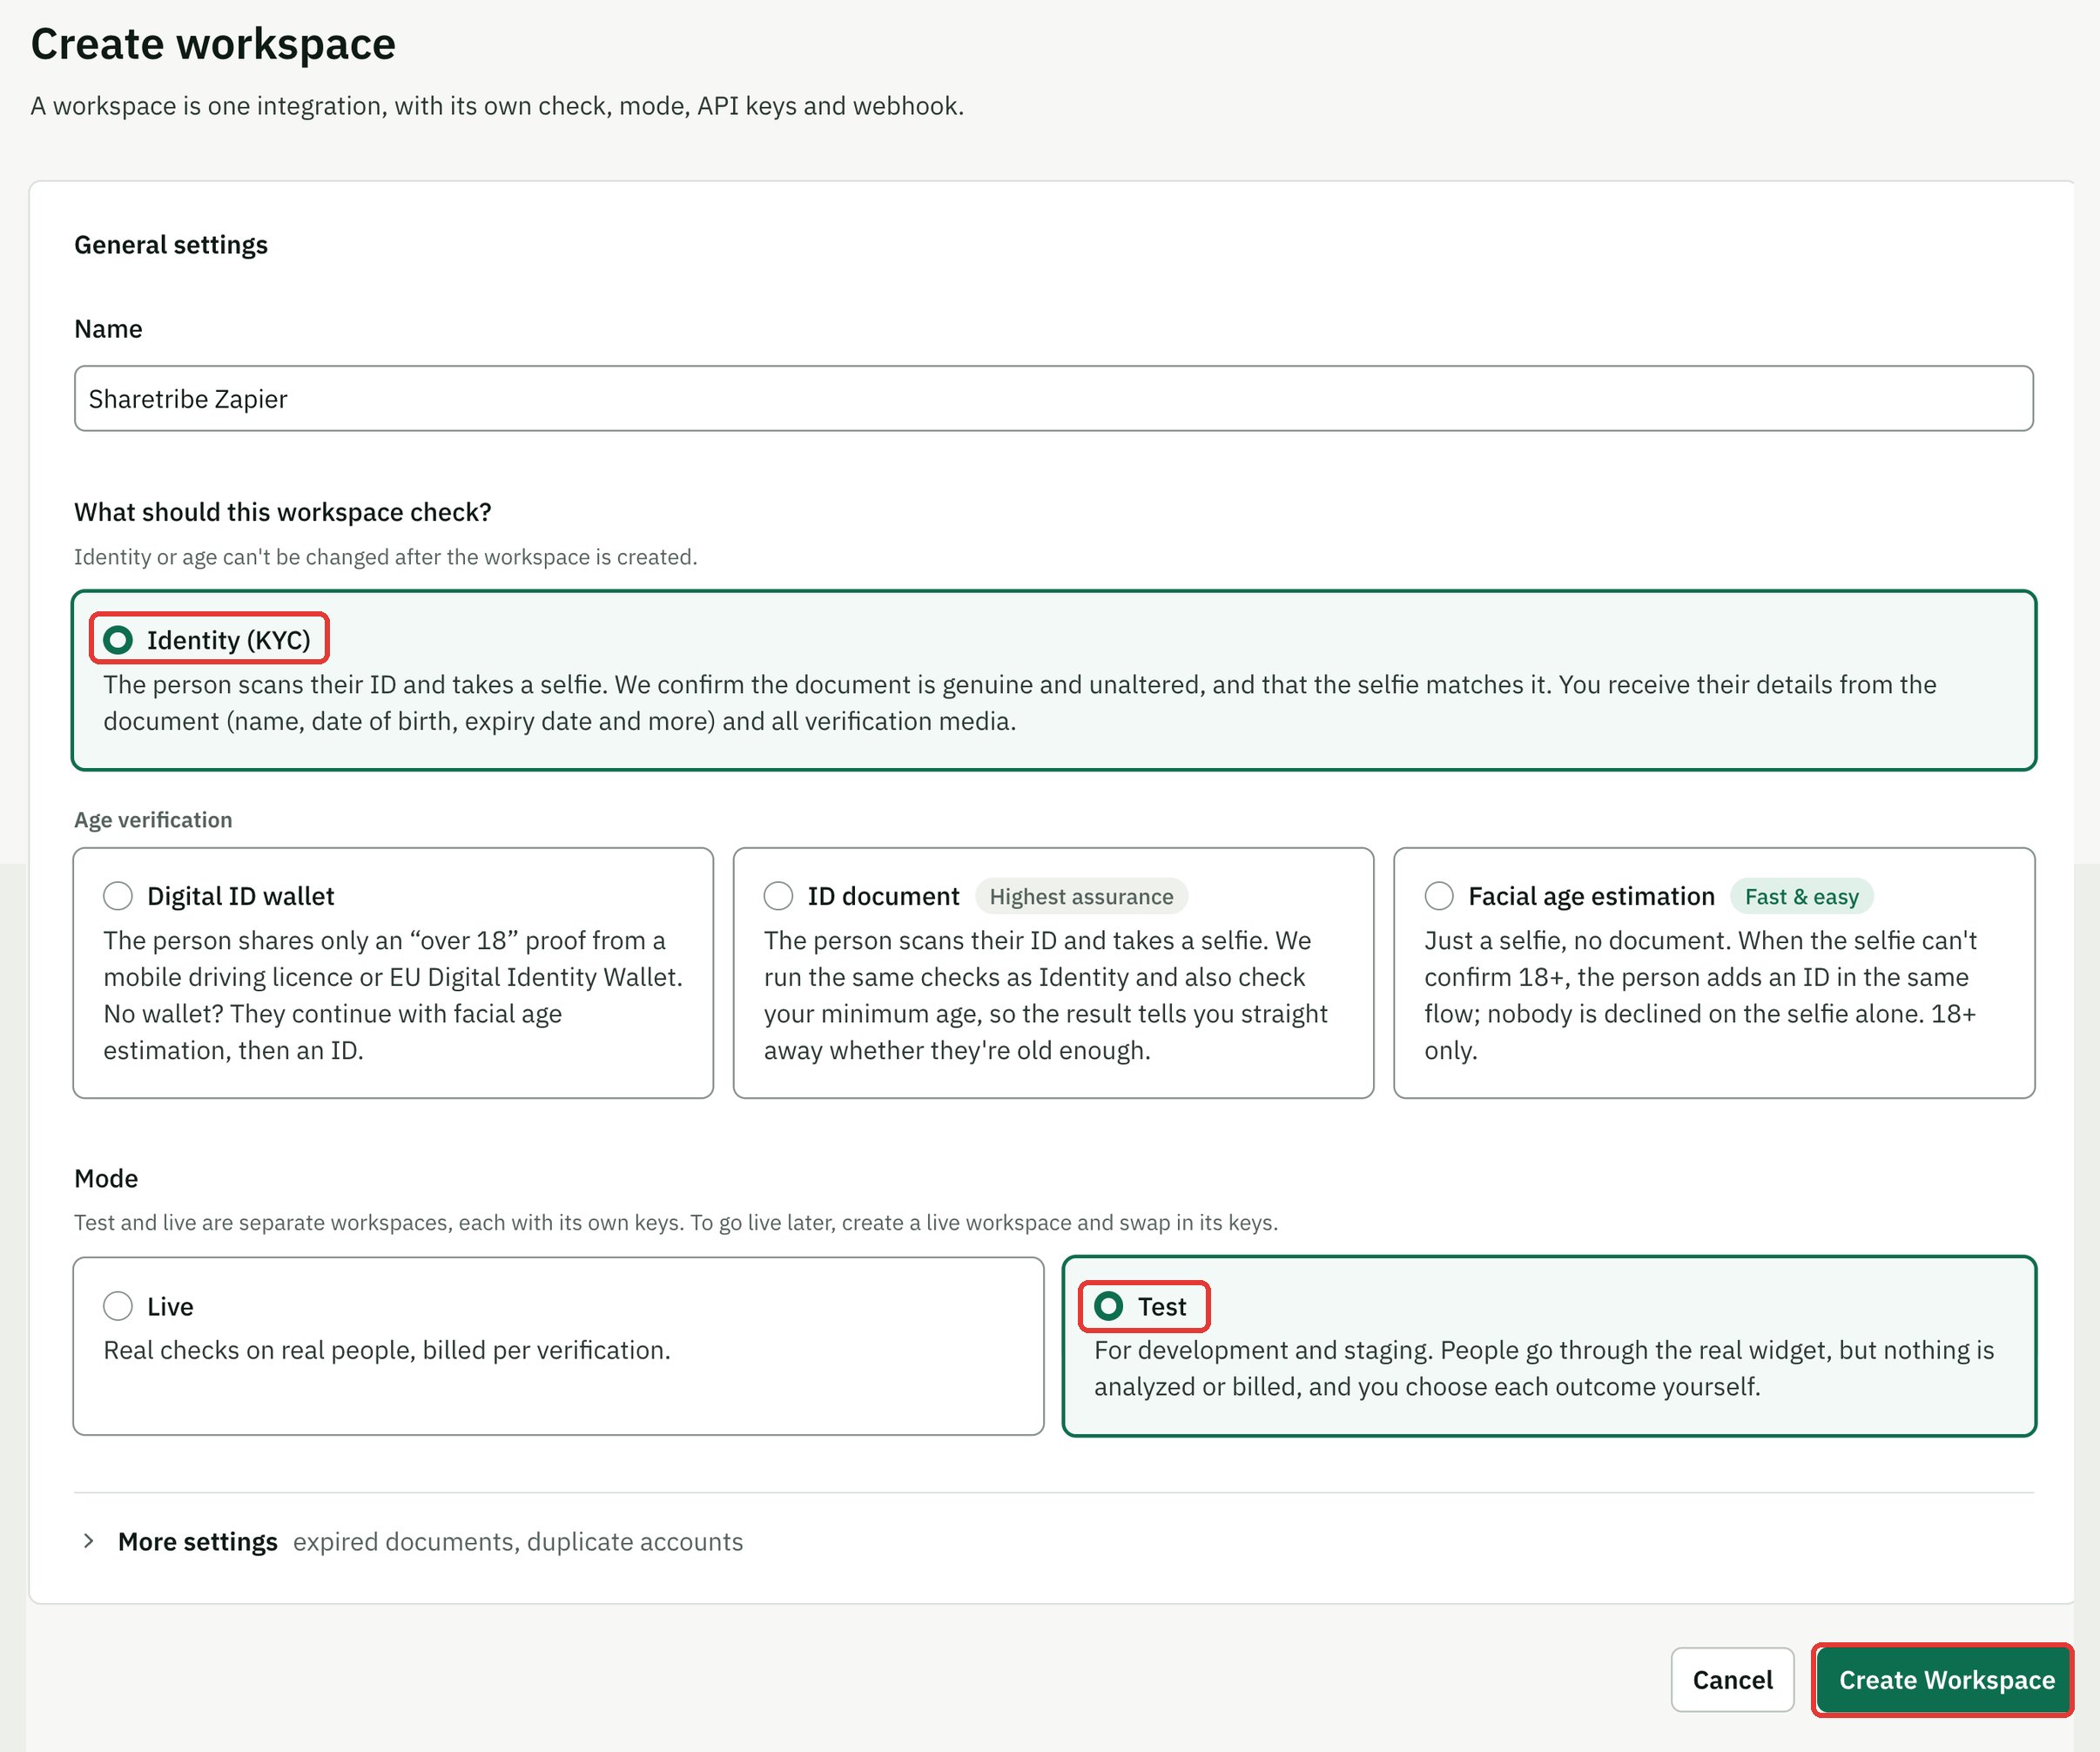
Create a test workspace
- Sign in to app.proofage.net, go to Workspaces and click Create workspace.
- Enter a Name, for example “Sharetribe Zapier”.
-
Under What should this workspace check?, choose:
- Identity (KYC): the user scans an ID document and takes a selfie. Pick this to know who your users are.
- or one of the Age verification options (Digital ID wallet, ID document with a minimum age, or Facial age estimation) if you only need to know that users are old enough.
- Under Mode, select Test. The form selects Live by default.
-
Click Create Workspace.
-
On the workspace page, open the Integration URLs tab and paste the address of your
verification-receivedpage into Redirect URL. It saves when you leave the field. Your Zap will set this address itself. The workspace setting is for links you create by hand in the ProofAge console, which the next page uses to let a user try again.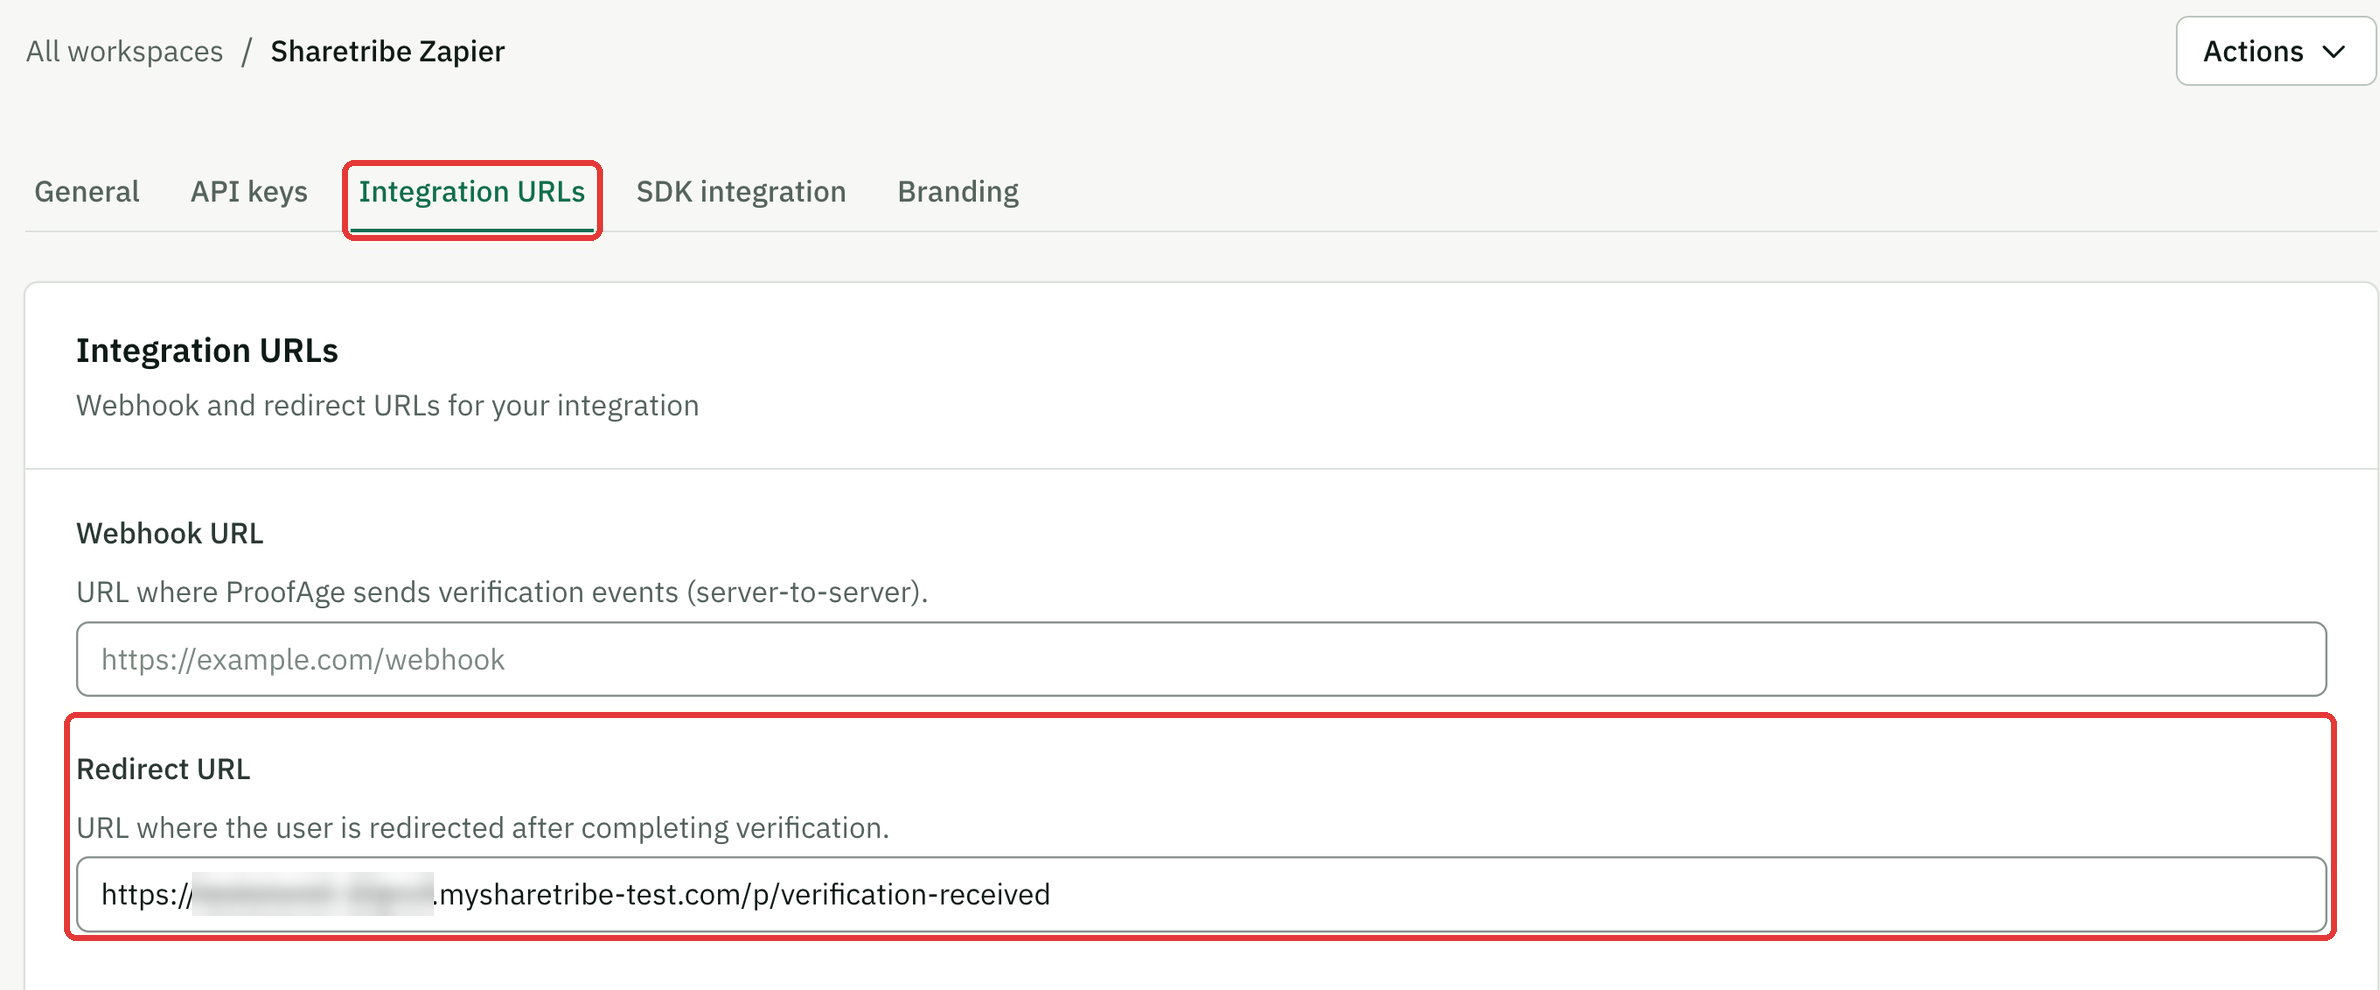
Add ProofAge to your Zapier account
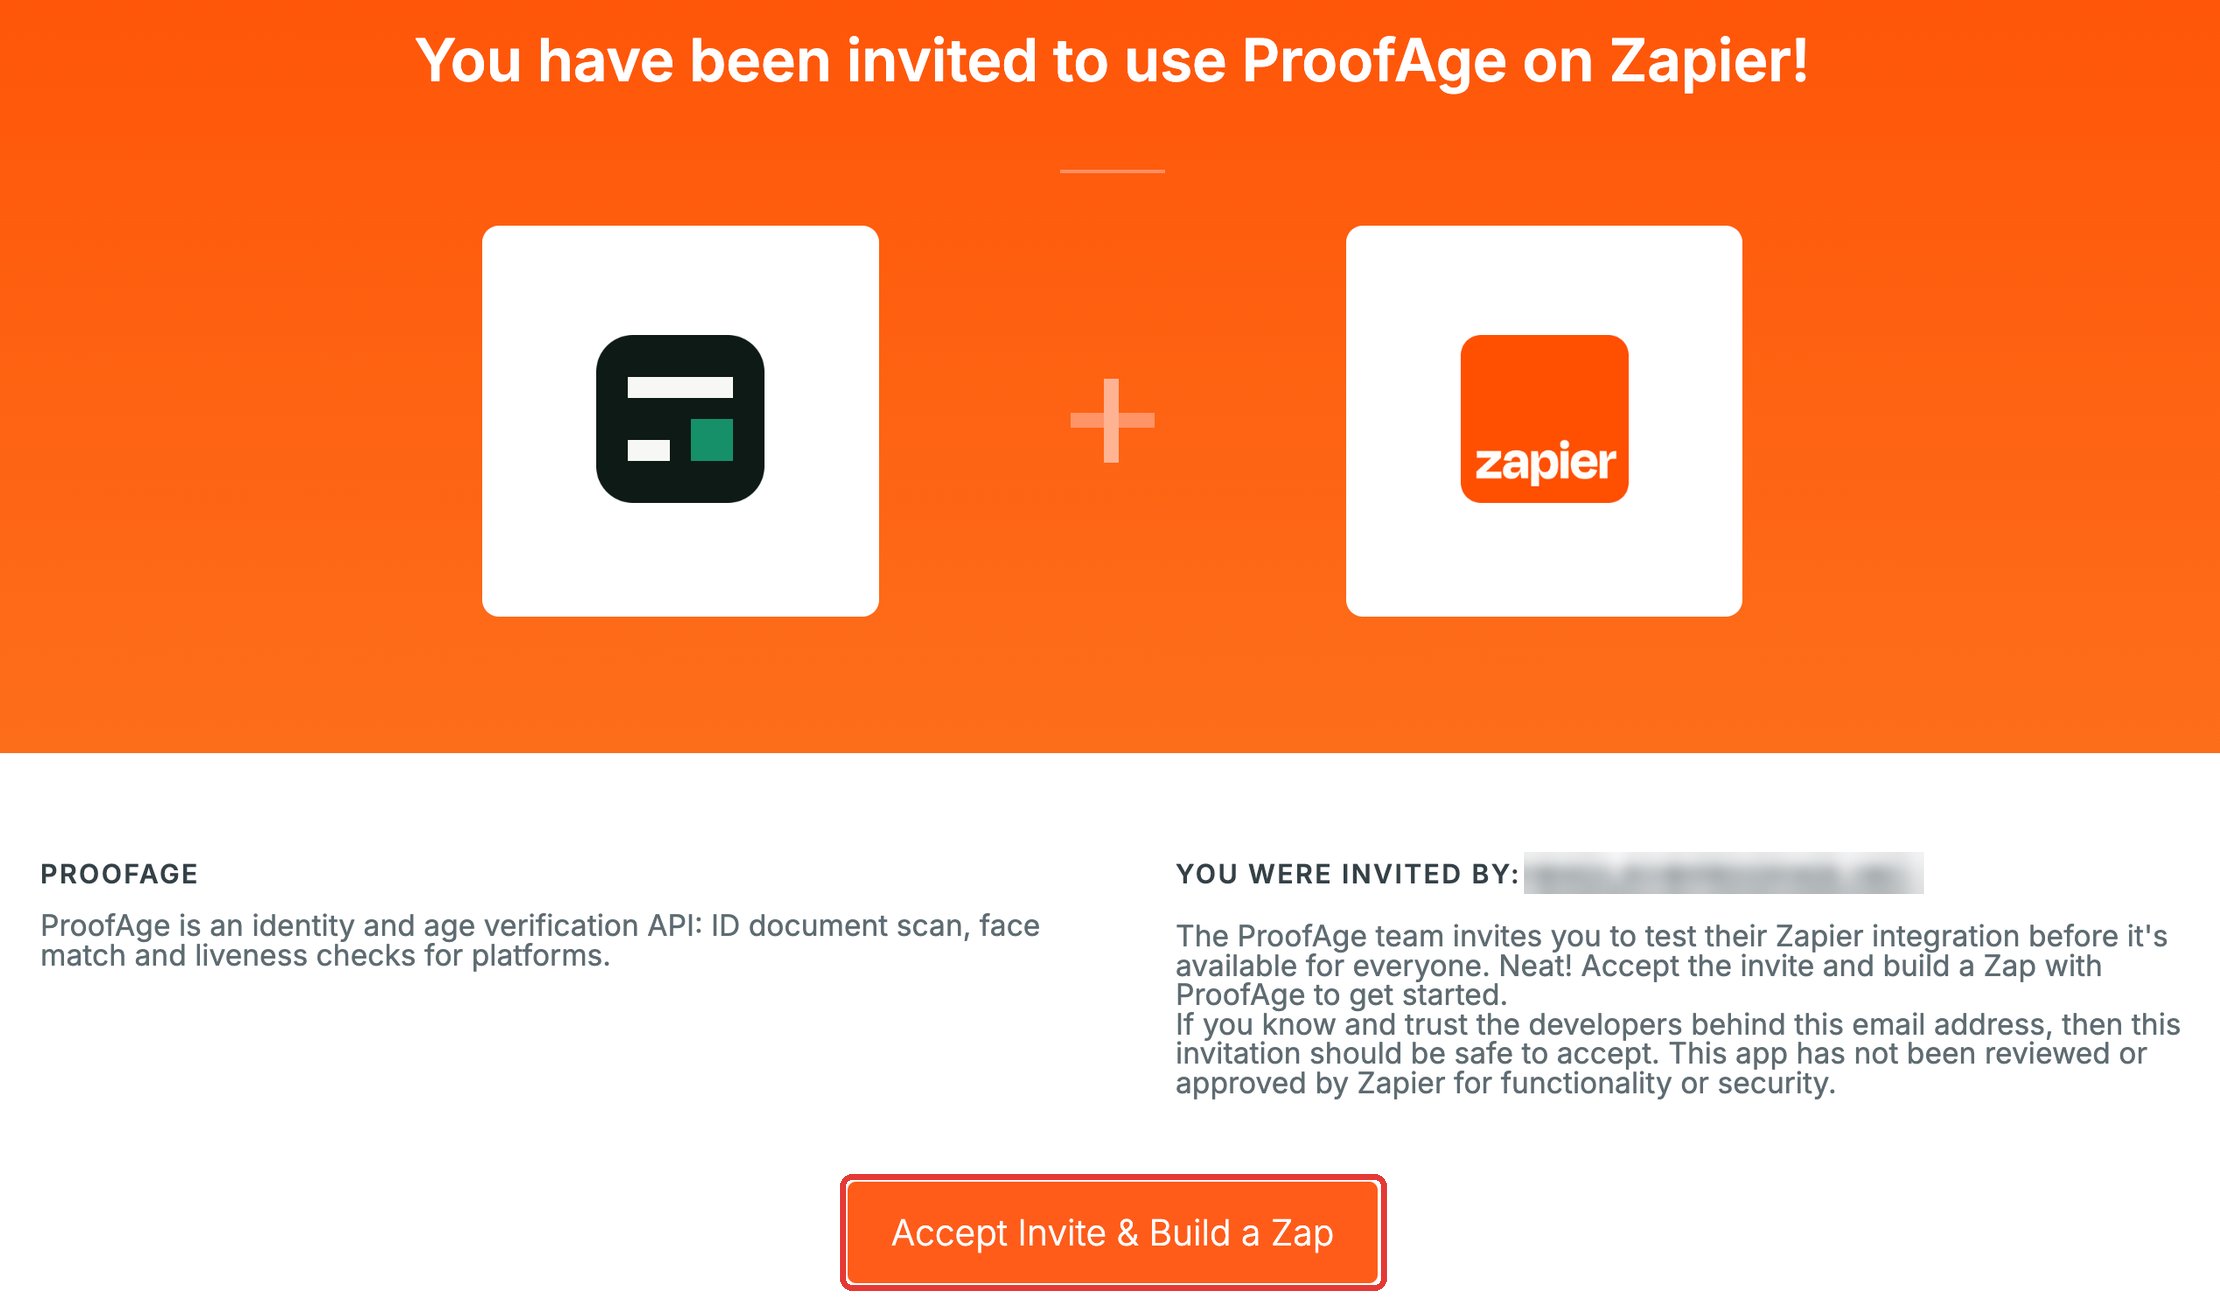
The ProofAge app for Zapier is in beta and available through an invite link:- Open this invite link while signed in to Zapier.
- Click Accept Invite & Build a Zap. Zapier takes you to your Zaps page.
Creating the Zap, step by step
In Zapier, click + Create and choose Zaps. Then click the new Zap’s name (“Untitled Zap”) at the top, choose Rename and name it ProofAge 1 – Send verification link.Step 1: User created trigger
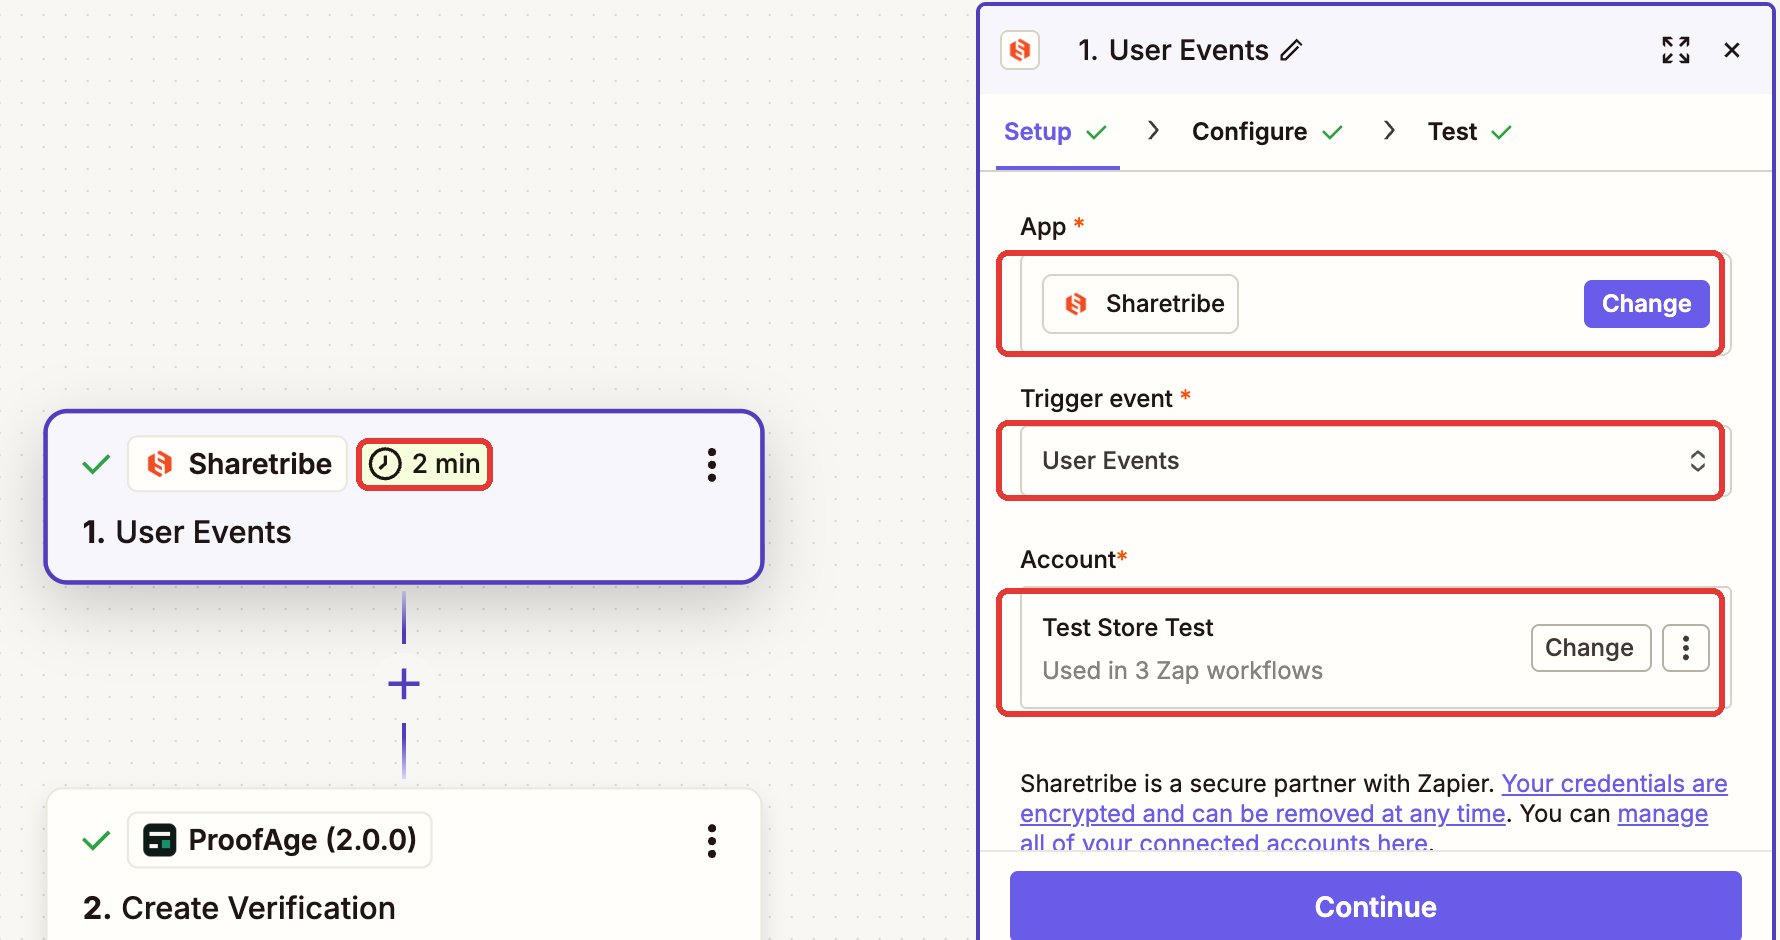
- As the trigger app, choose Sharetribe. As the trigger event, choose User Events.
-
Connect your marketplace: click Sign in and paste the Client ID and Client Secret from
above. Make sure you use the keys of your Test environment.
-
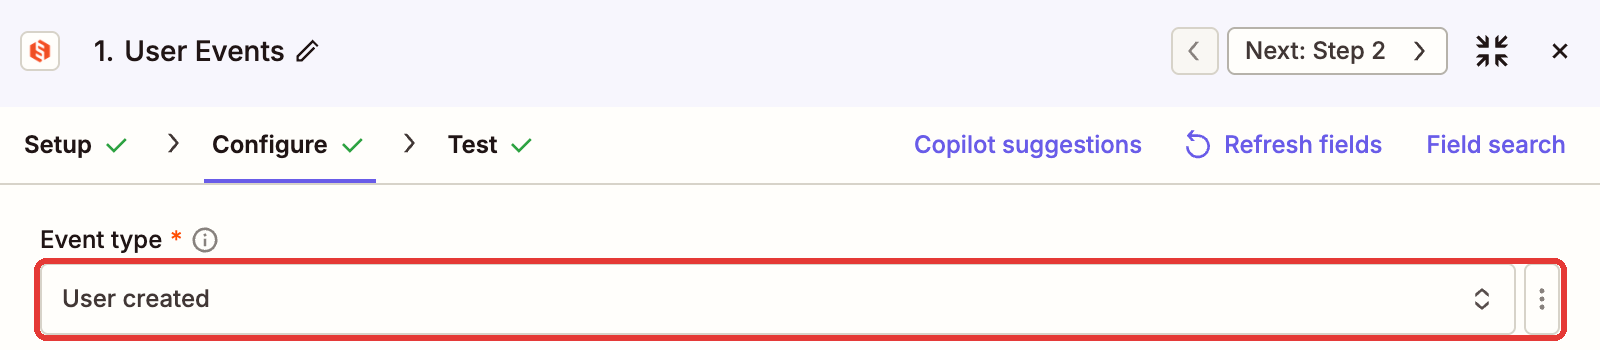
In Configure, set the event type to User created.
-
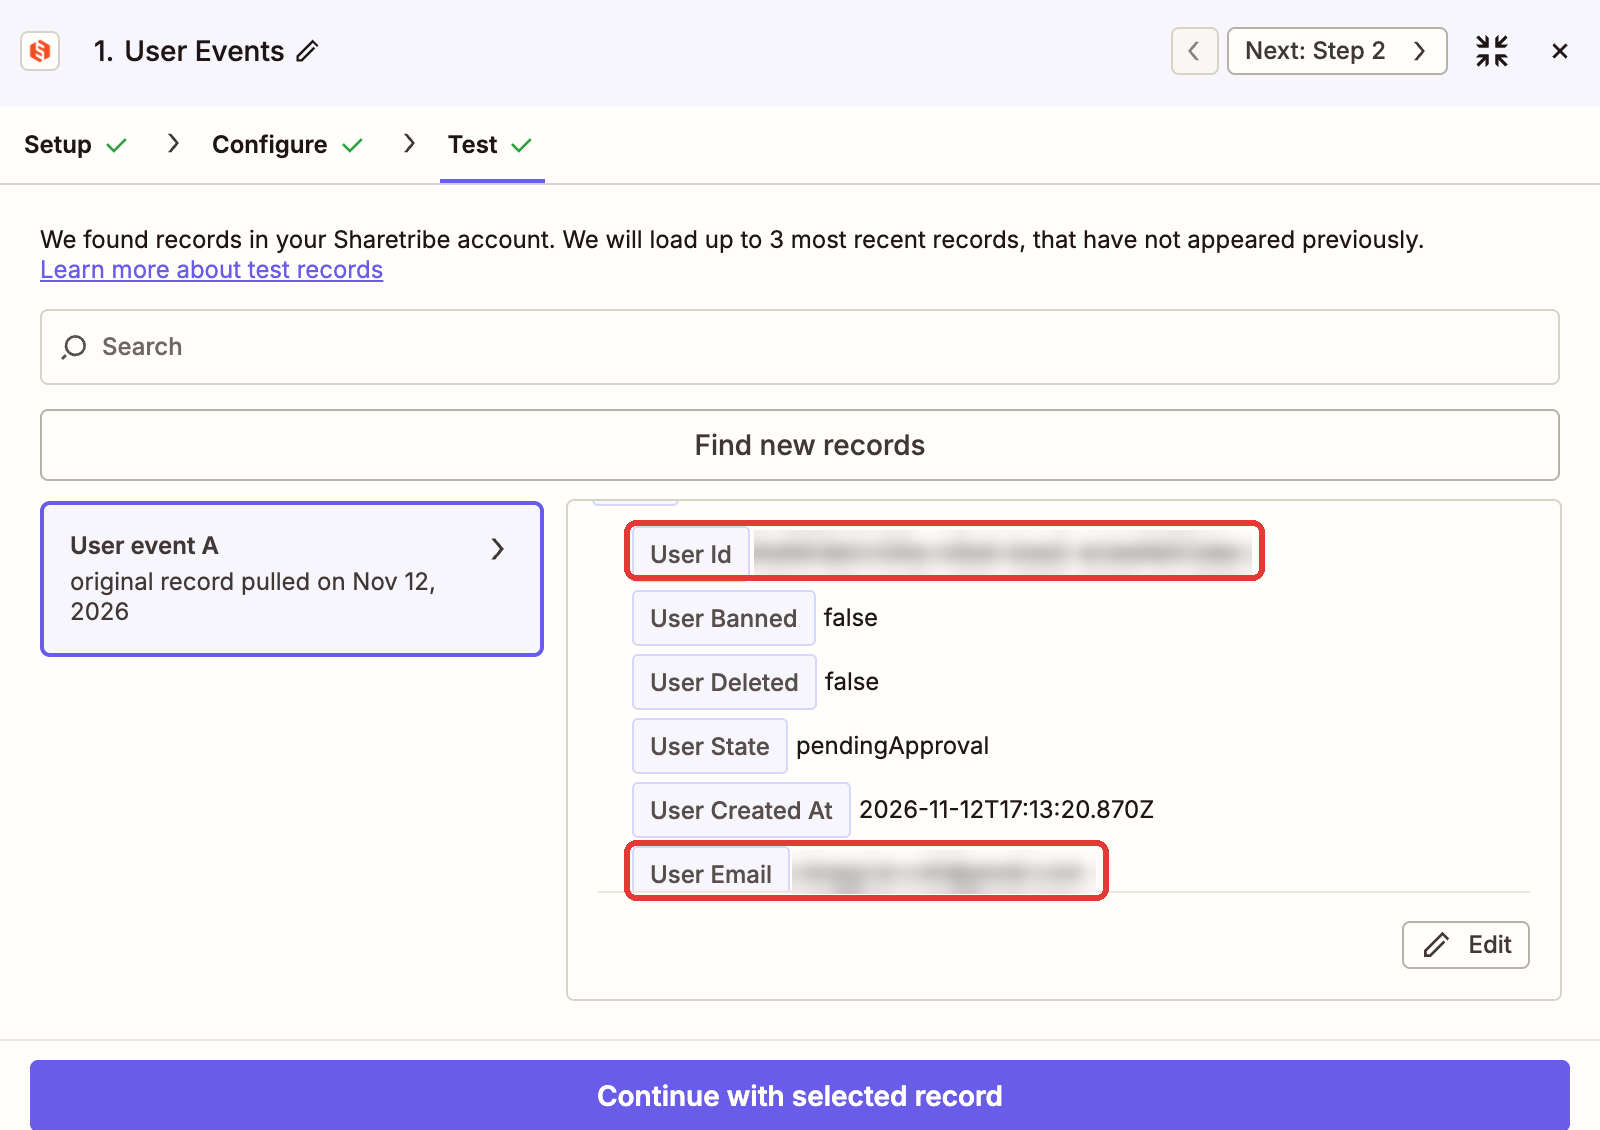
Click Test trigger. Zapier should find your test user and show a record such as
“User event A”. If it finds nothing, sign up a new user on your marketplace and test again.
Step 2: Create the verification in ProofAge
- Add an action step. Search for ProofAge (Zapier lists it as “ProofAge (2.0.0)” with an Invite Only label) and choose Create Verification as the event.
-
Connect ProofAge:
- Click Sign in. A window opens.
- Zapier first asks you to confirm. Click Connect.
- Sign in to ProofAge if asked.
- Choose your test workspace (it’s marked Test) and click Allow.
 Only ProofAge administrators and developers can connect a workspace. ProofAge creates a key named “Zapier · …” in the workspace for this connection; deleting that key disconnects Zapier.
-
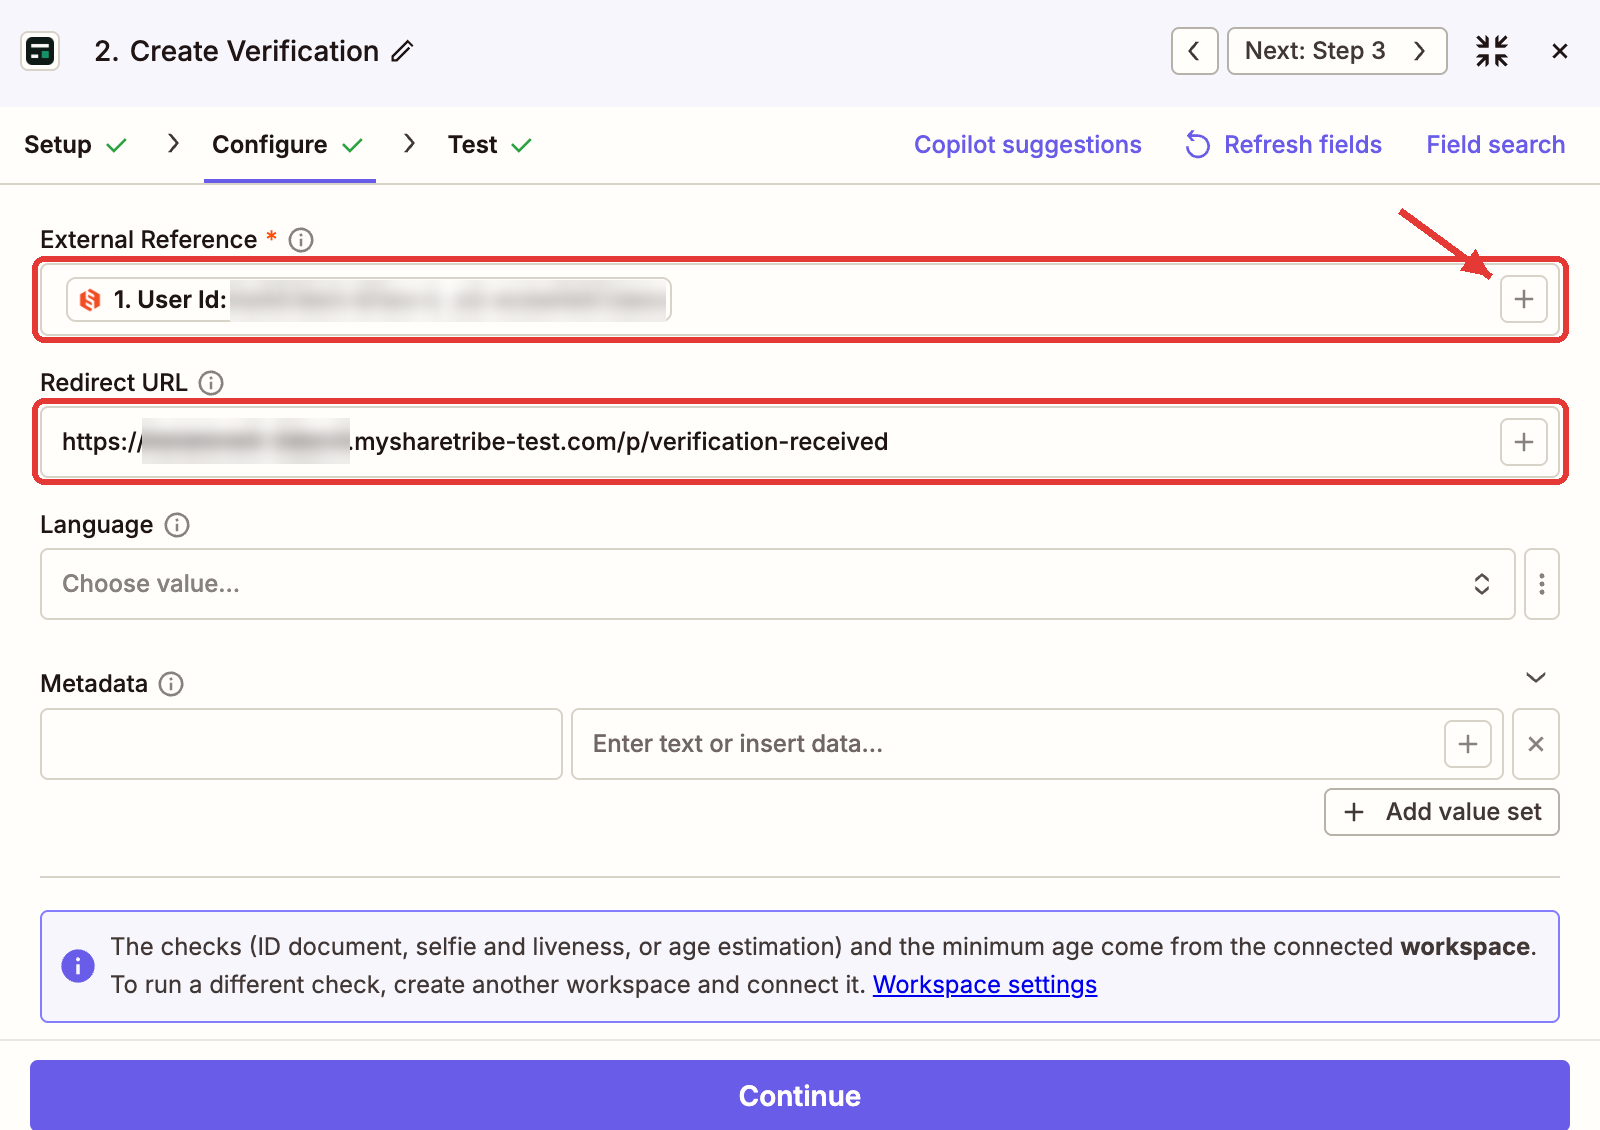
In Configure, fill in:
- External Reference: click + next to the field and choose User Id from step 1. This is how ProofAge’s result is matched back to the right user, so don’t type anything else here.
- Redirect URL: the full address of your
verification-receivedpage. - Language: leave empty to use the language of the user’s browser, or choose one.
- Metadata: leave empty.
-
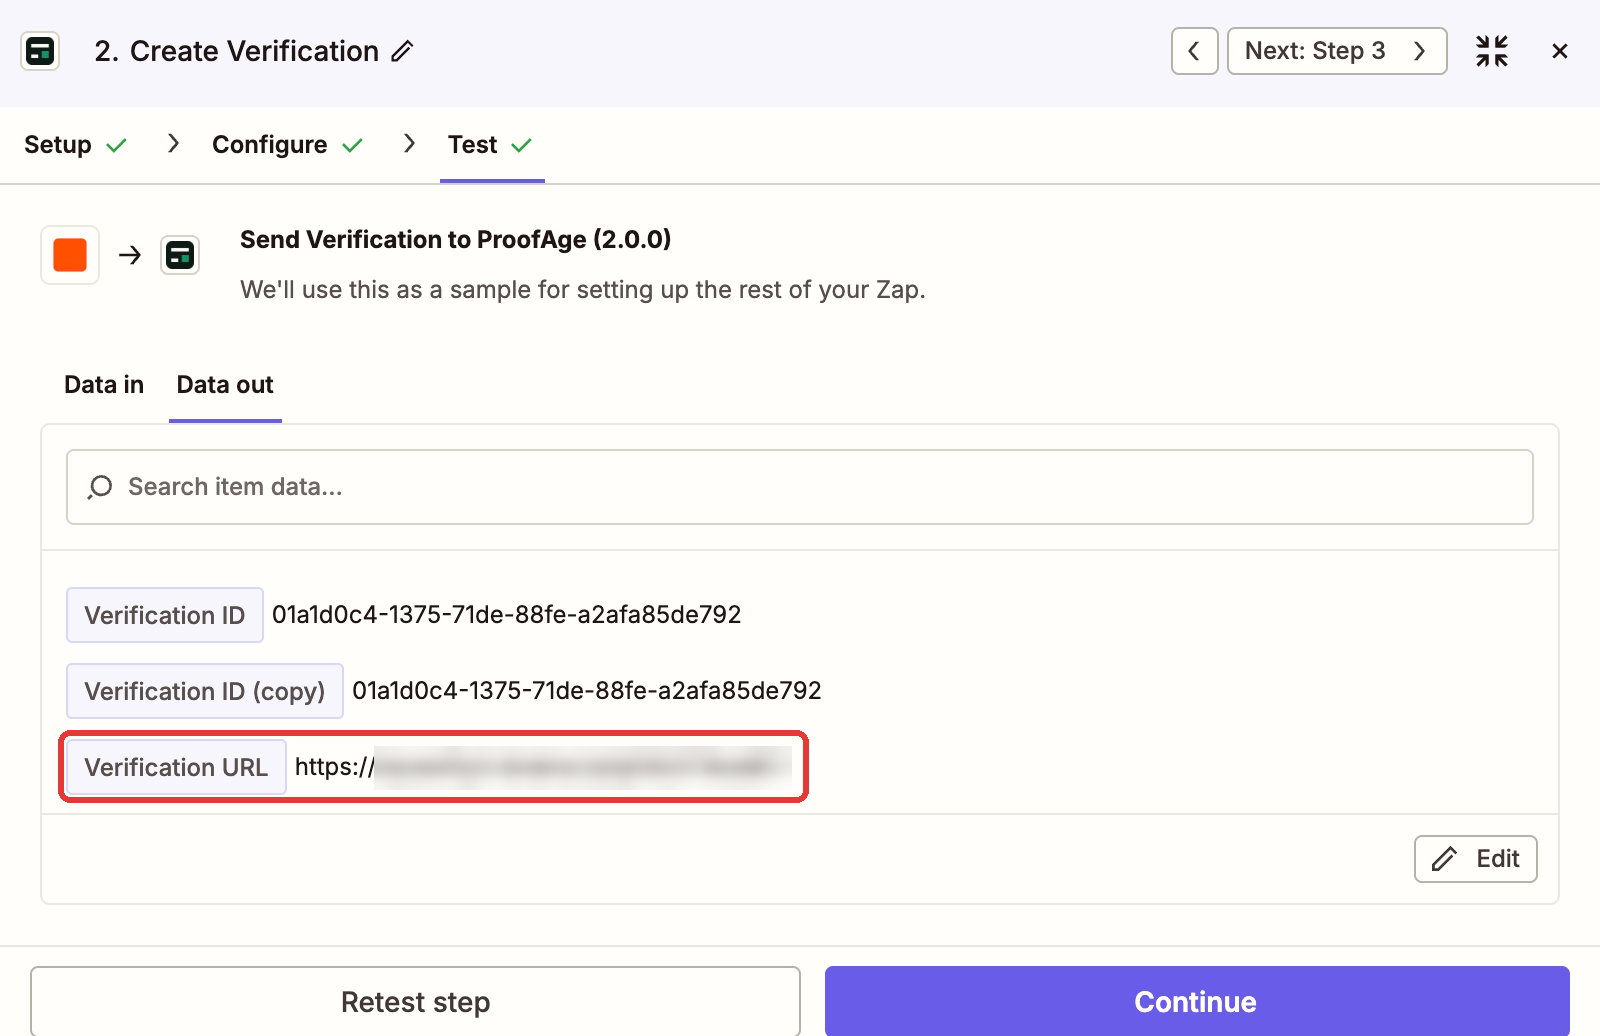
Click Test step. In the result you’ll find Verification URL: the link the user opens
to verify. You’ll use it in the next step.
Step 3: Email the link to the user
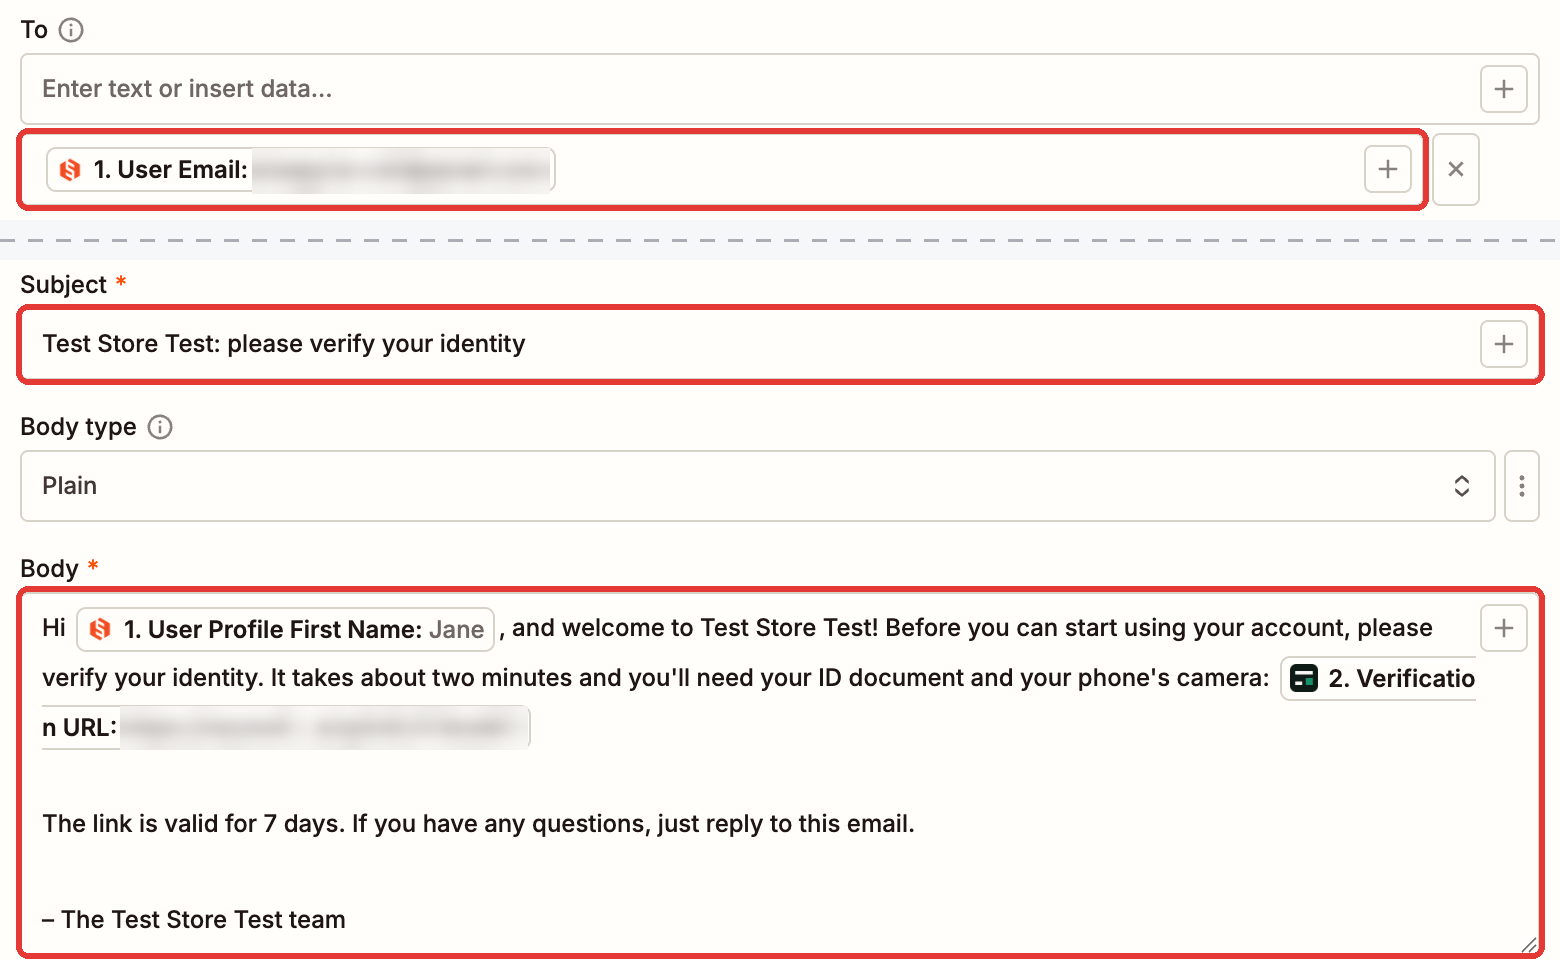
- Add an action step with Gmail (or your email app) and choose Send Email. Connect the mailbox you want users to see and reply to, such as your marketplace’s support address: the email is sent from it.
- To: choose User Email from step 1.
-
Subject: for example
Your Marketplace: please verify your identity. -
Body: for example, inserting the fields in brackets from steps 1 and 2:
Hi [1. User Profile First Name], and welcome to Your Marketplace! Before you can start using your account, please verify your identity. It takes about two minutes and you’ll need your ID document and your phone’s camera: [2. Verification URL] The link is valid for 7 days. If you have any questions, just reply to this email. – The Your Marketplace team
-
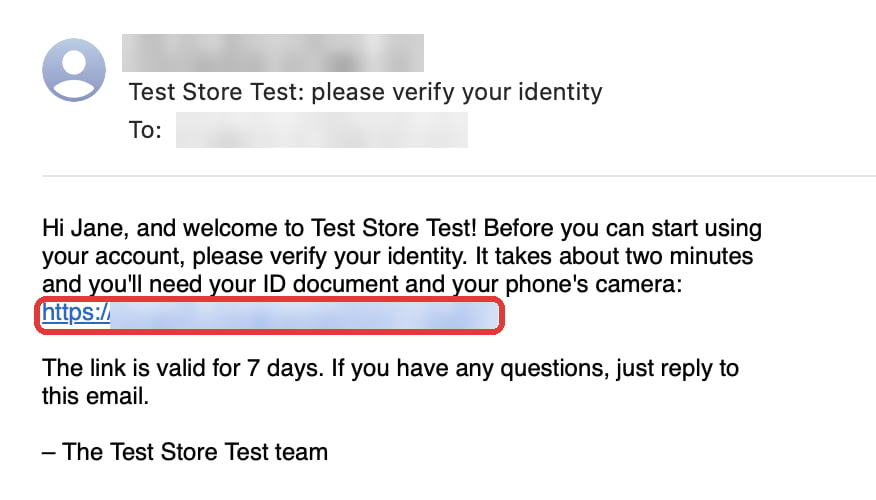
Click Test step and check that the email arrives in the test user’s inbox.
- Click Publish to turn the Zap on.
What the user sees
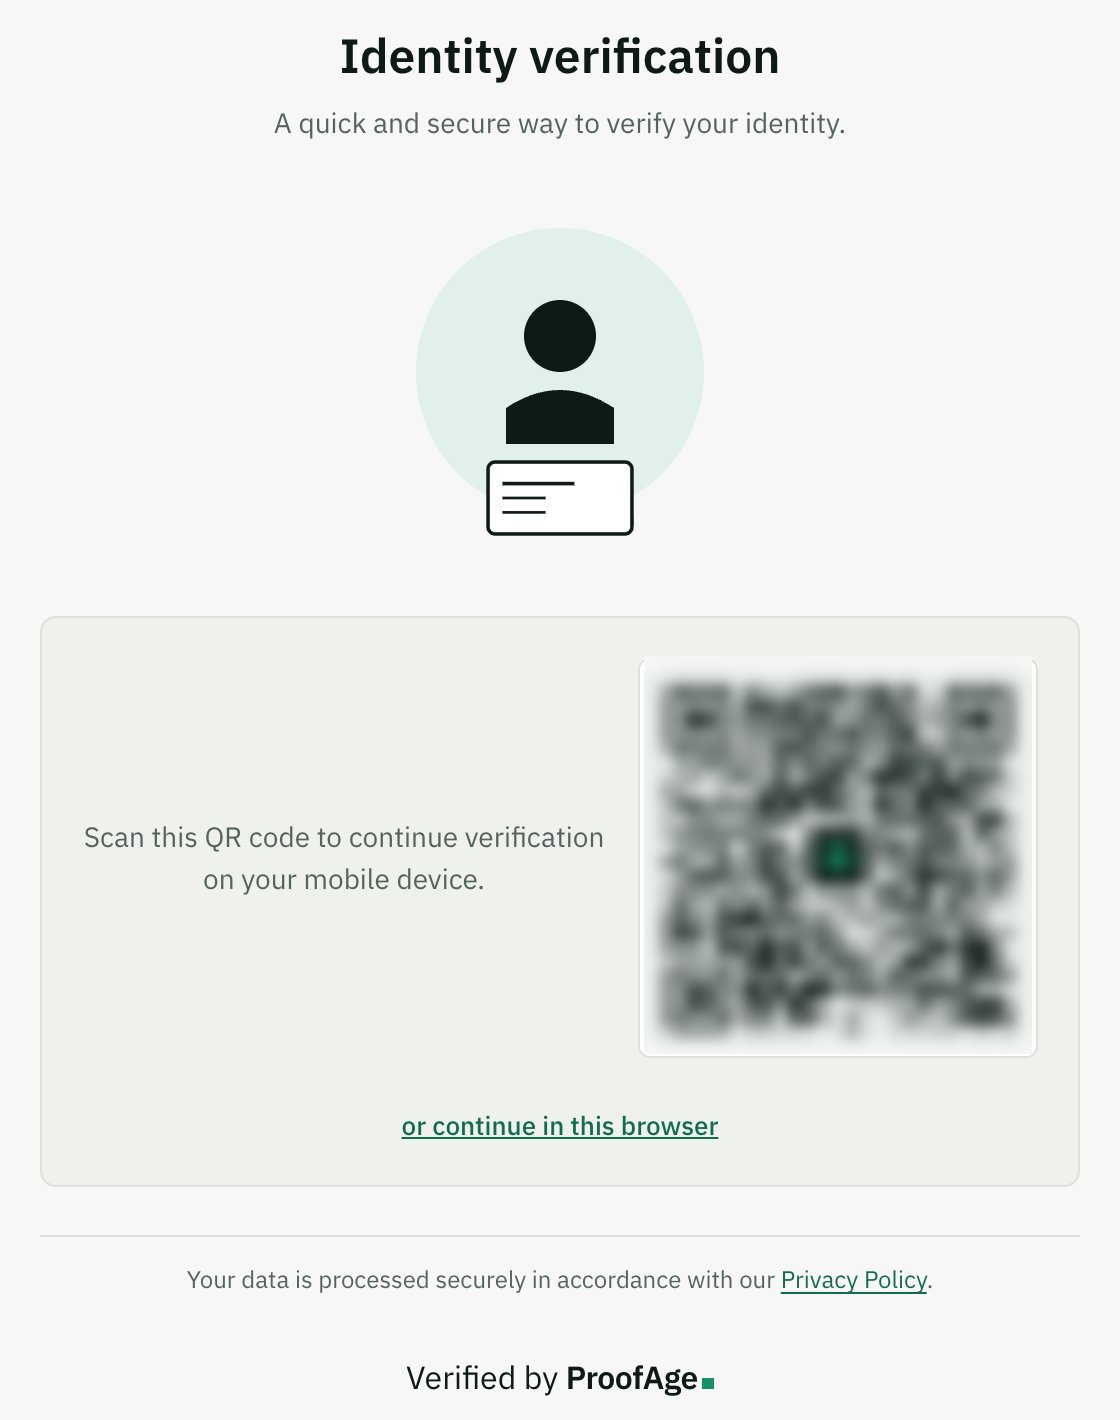
The user opens the link from the email. On a phone, the first screen says what’s ahead (a photo of their ID, then a selfie) and asks them to agree before the camera starts: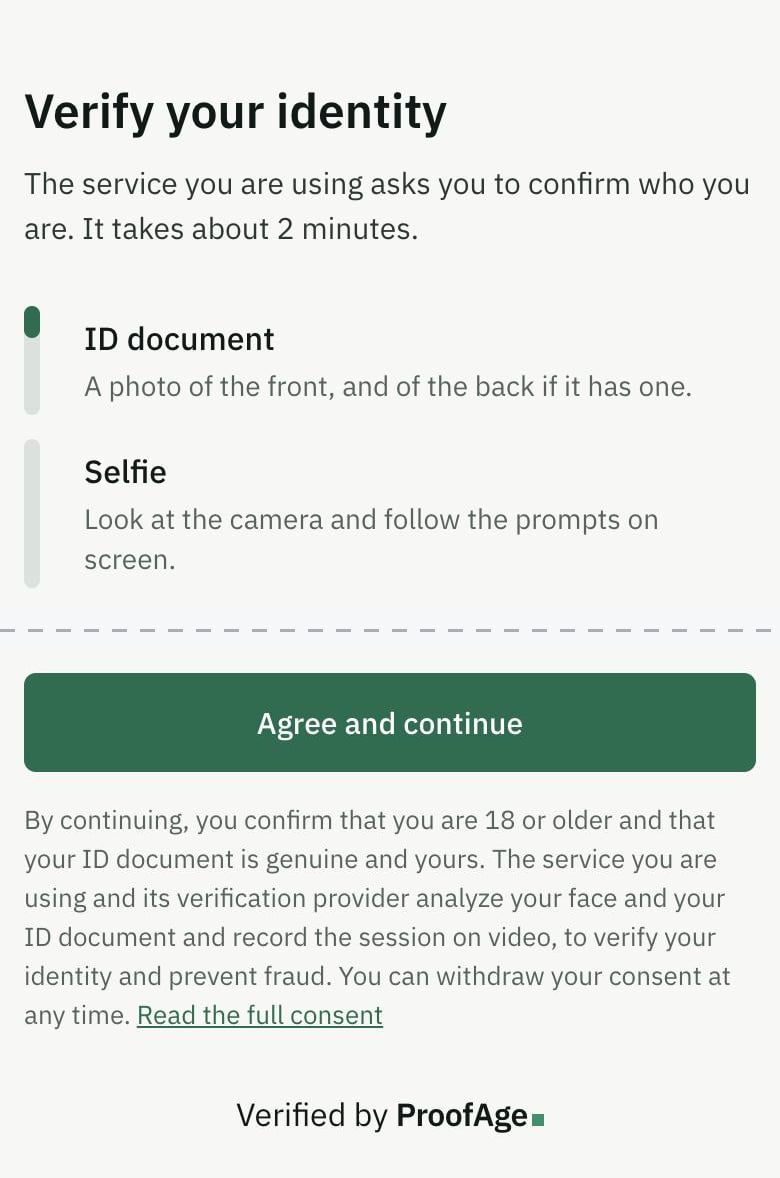
verification-received page.